
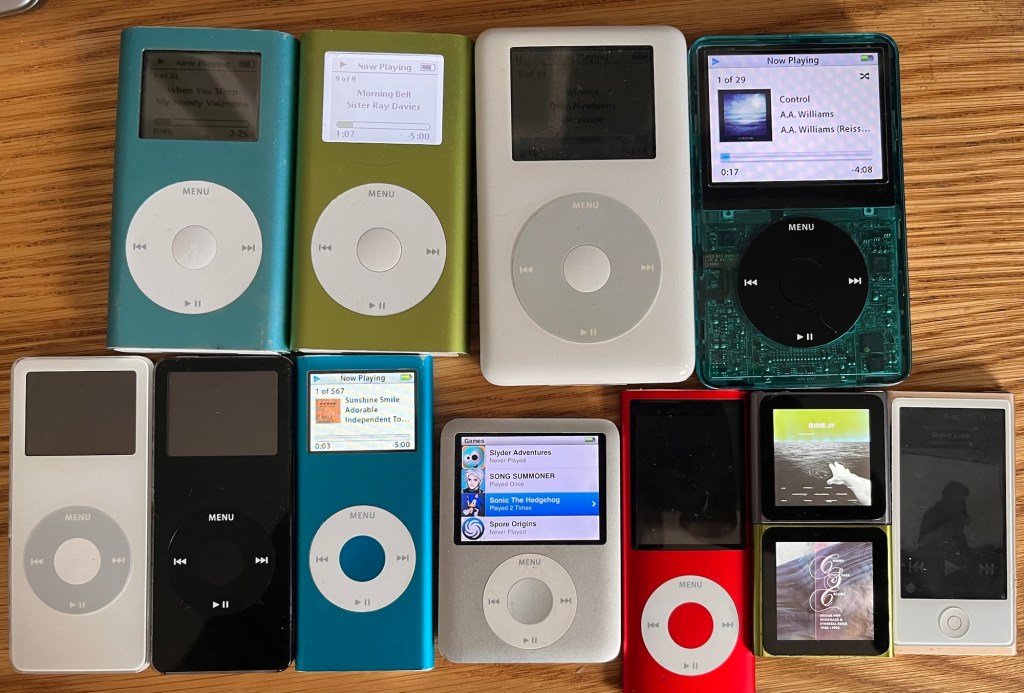
This is a quick rundown of iPods I’ve fixed, in terms of how easy or fixable I think they are, along with things to watch for and a breakdown of the costs. But why?!
If certain corners of the internet and press are to be believed, iPods are having a bit of a moment, as people start to reject the algorithm driven world of Spotify and so on, and look to break away from their phones to more intentional single use devices.
Of course this only works if you have music to put on your iPod in the form of MP3 or AAC (Apple’s format). I do – I’ve never really stopped buying CDs, which I rip as I go, and a buy a lot of records and tapes from Bandcamp, which gives you a download too.
I’ve been a re-convert to iPods for a few years, but discovered the world of iPod modding and repair after my iPod Nano 6 went through the wash. I wondered if it was repairable, and found a whole world of advice on Reddit, YouTube and sites like iFixit. The classic iPod users Facebook group has over 200,000 members!
Other than washing machine related problems, most iPods around are now suffering from failed or failing batteries, and replacing them isn’t that straightforward. It’s made worse by the fact that lithium batteries tend to expand. This gave rise to the phrase ‘spicy pillows’ — they become soft and might explode (apparently! I have no idea how often this actually happens!). The expanded batteries often push against the screen, causing them to break too. You’ll see lots of these on eBay with the tell-tale black smudged screen.
So, anyway, curiosity got the better of me, and I decided to have a go at picking up as many different types of broken iPods as possible and figure out which are fixable by someone with fairly limited electronics skills. It turns out they all are, but the degree of difficulty varies enormously. I also explored which are the most moddable — modding in this case means bigger batteries, swapping the mechanical disc drive for an SSD, and so on.
Broadly, only the iPod Minis and classic iPods are moddable, not the Nanos or Shuffles, which you can repair, but not increase the storage or battery. So to make them usable today, even with a fully working example, the Classics need the hard drive replacing with an SD card and their batteries changed, and the Nanos just need their batteries changed.
In this post I’m going to rank them from, in my view, most repairable to least, and share my experiences. This isn’t a guide on how to fix them though! iFixit already does this brilliantly.
Tools you’ll need
Before I start, a quick run through on the tools you’ll need. This is what I have:
- A cheap set of iPod tools from AliExpress, eBay or Amazon – something like this:

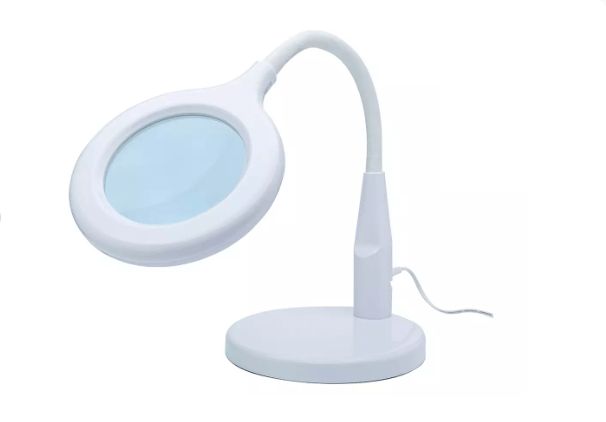
- A magnifier and light — these things are tiny! Mine came from Argos.
- Something to make sure you don’t lose screws – I’ve got a small magnetic holder from Aliexpress.
- Some Kapton tape – you’ll almost certainly have to remove some of this and it’s easier to put new back. This is the yellow heat resistant tape – don’t try and use normal sellotape!
- Some B-7000 glue – most iPods have a least some parts the stuck down. This is slow drying flexible glue – don’t try and use superglue!
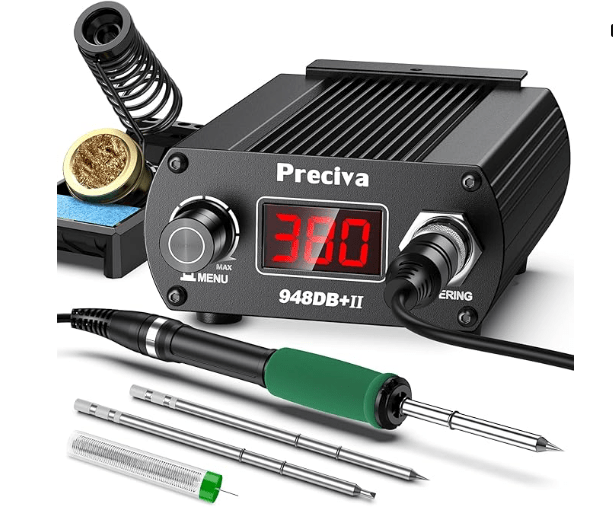
And then, for those that need soldering:
- A soldering iron – is is the one I use
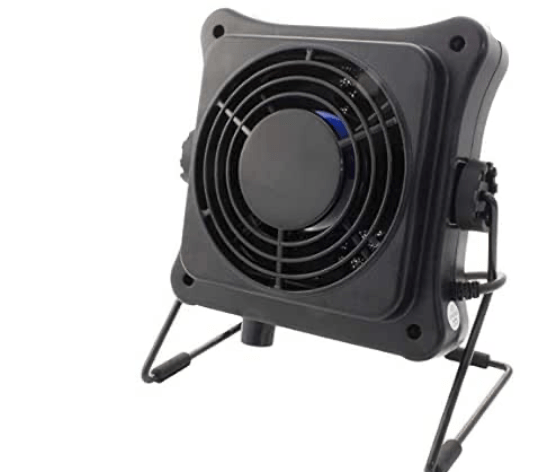
- Something to take the solder fumes away – I use this Duratool one. Soldering without one is possible but, I think, not fun!
- Some thin solder — unfortunately lead based works best. I use 0.5 mm.
- A solder mat – one of those blue things make it easier to see.
- Solder wick – for removing solder from old batteries, and correcting your mistakes.
- Flux
- Some Isopropanol for cleaning things (but not the back of screens! Never do this – it takes the reflective surface off).
The List:
Now for the least — most repairable to least. For each one I included a repairability scroll, based but on how easy it is and cheap/common the spares are. This is important factor, for example the iPod Mini’s are easier to work on in almost every way, but replacement click wheels, which break easily, are as rare as hen’s teeth.
I’ve also noted if the common fixes need solder and gluing. Obviously and component level repairs will need soldering, but here I’m just looking at batteries, headphone sockets etc. I’ve not done all iPods yet so some will be missing from the list. I’ll update things as I do them.
I’m ignoring iPod Touches, as these are basically iPhones.
1. iPod 5th Generation
Repairability: 9 | Moddability: 10 | Soldering: No | Gluing: No
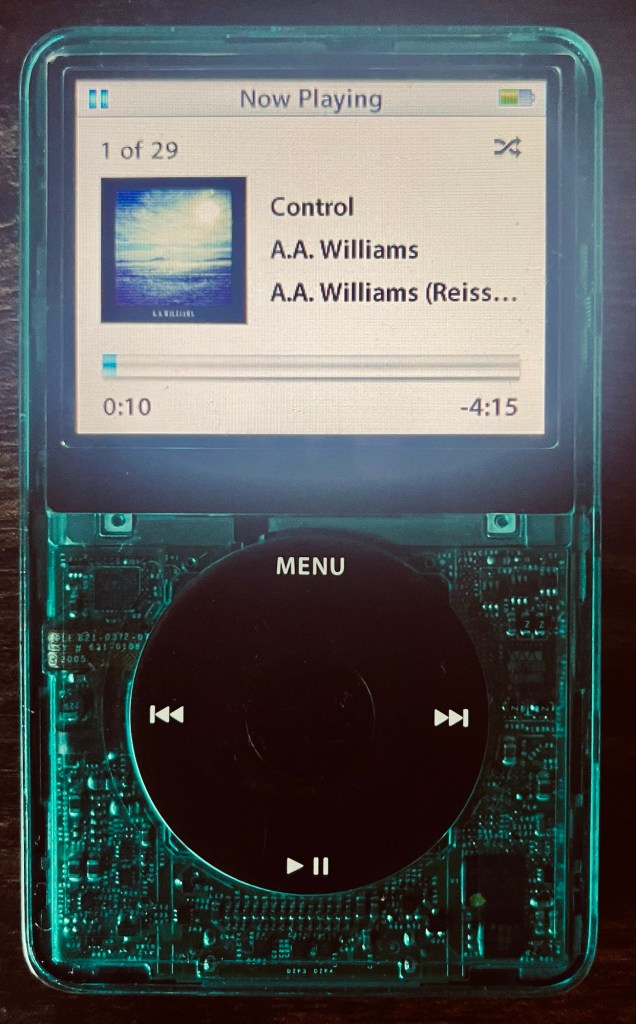
Because these are so moddable, they are the most sought after iPods, and even broken ones go for around £50. The ‘5.5’ versions, with the better DAC, are perhaps the most coveted.
The great thing about these is the availability of spares — from shells, to click wheels, batteries, and most crucially, mod kits to swap the hard disk for SD cards. They are easy to open (for an iPod anyway!) and all the main mods can be done without soldering.
I’ve put mine in a clear green shell – there are loads of different ones available.
What to watch out for:
A lot of people seem to break the battery connector when opening these. I’ve done most of the common breakages (!) but not this one. It’s a surface mounted connector, and I think probably easy to solder back if you don’t rip the pads off. That’s a big if — most of the ones I see online have missing pads and look very tricky to fix, probably to the point that the board is a write-off for most people.
What I did and what I spent:
| Part | Cost |
|---|---|
| Broken iPod 5th gen | £26.98 |
| Replacement screen | £16.76 |
| Replacement battery | £7.99 |
| iFlash-Solo adaptor | £30.60 |
| Samsung 128GB SD card | £20.00 |
| Replacement faceplate | £8.79 |
| Total | £111.12 |
The base iPod was incredibly cheap for a reason. The battery, screen and hard drive were all faulty. But everything else was good, which is really what you’re paying for with these. Once I’d swapped out the three failed components, fitted the iFlash-Solo with a 128GB Samsung SD card, and finished it off with a new faceplate, I ended up with a gorgeous, essentially brand new iPod that’s now my most used and most loved device. My wife wants one too – she’s very jealous on mine so I’m on the lookup for another cheap base model.
2. iPod 4th Generation
Repairability: 9 | Moddability: 7 | Soldering: No | Gluing: No
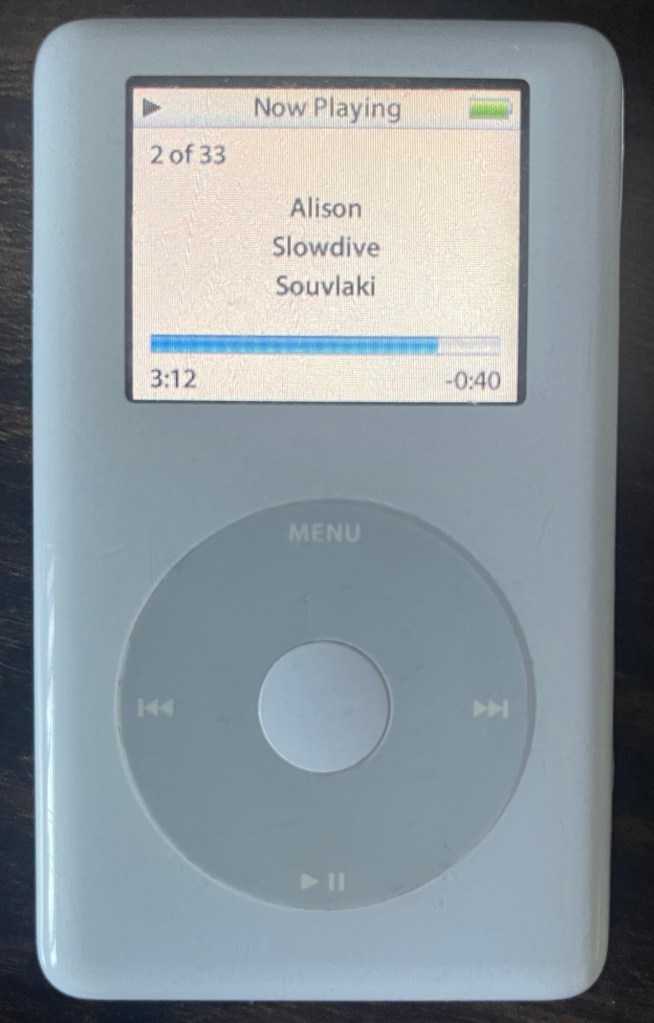
iPods from before Apple started making things tiny! So plenty of room in the case, and it’s easy to open too. The battery just plugs in – no soldering required – and screens are available at sensible prices and straightforward to swap. You can just swap the Microdrive for a Compact Flash card, or use a iFlash CF-SD convertor. Apparently cheap Compact-Flash to SD cards don’t work terribly well, so it’s best to pay the extra for the iFlash one.
The 40GB ones have a particularly massive case, which just gives you even more room to work with. It does make them very chunky though, which some people like. I didn’t, so swapped in 20Gb backplate that I had lying around.
What to watch out for:
These seem to be built like tanks, so I’ve not noticed any common faults. Possibly the easiest repair on this whole list after the 5th gen.
One thing to note – although you can put a big SD card in, the operating system/menus really aren’t developed enough to make having a massively library nice. In the later models, it does a kind of fast screen just based on first letters (A-Z) which makes scrolling big library fast. On these you have to scroll through every item. The later model also have a search, which these lack. The Minis are the same, so I wouldn’t recommend much more that 64gb, probably less on this generation.
What I did and what I spent:
| Part | Cost |
|---|---|
| 4th gen iPod (spares/repair) | £27.94 |
| Replacement battery | £8.29 |
| 64GB CF card | £18.00 |
| Total | £54.23 |
A much simpler project than the 5th gen, and nearly half the price. The battery just plugged straight in, the CF card dropped in without any adaptor needed, and that was pretty much it. A straightforward and satisfying repair that left me with a fully working, upgraded iPod for just over £54.
3. iPod Shuffle 2nd Generation
Repairability: 9 | Moddability: 0 | Soldering: SMD | Gluing: Yes
This gets so high on the list because it’s so simple. It looks like the only thing likely to go wrong is the battery. It’s easy to open, the battery is easy to get to, and although it’s a surface mount solder, it’s wires rather than any sort of ribbon cable — so about as easy as surface mount soldering gets. The gluing is just the covers at the top and bottom, so nothing tricky.
What I did and what I spent:
| Part | Cost |
|---|---|
| Shuffle (part of mixed bundle) | £4.00 |
| Replacement battery | £7.99 |
| Total | £11.99 |
The cheapest project on the list by some margin. The Shuffle came as part of a mixed bundle of broken iPods, and all it needed was a new battery. Soldered it in and it was good to go. Hard to argue with a working iPod Shuffle for under £12.
What to watch out for:
Nothing as far as I can see
4. iPod Nano 1st Generation
Repairability: 8 | Moddability: 0 | Soldering: SMD | Gluing: No
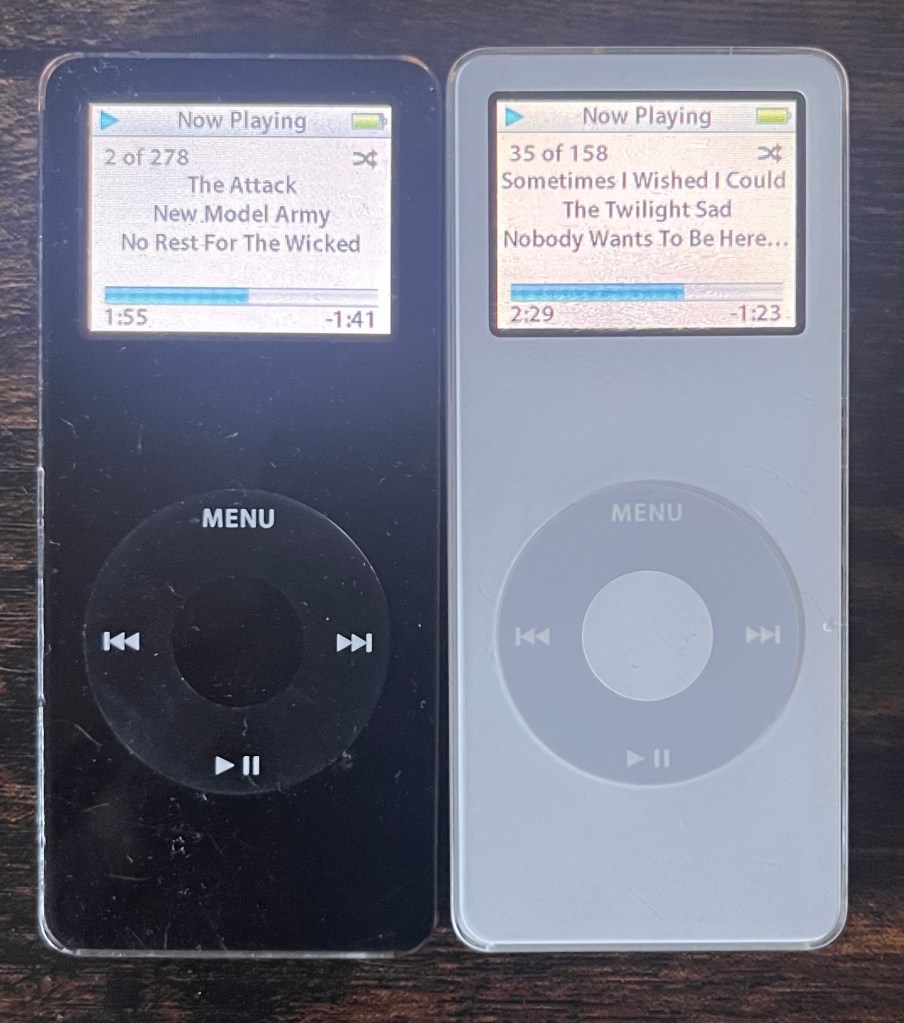
Surprisingly easy to work on for something so slim. These open without too much drama, and once inside, the battery is about as straightforward as it gets — through-hole wiring rather than surface mount, so even if your soldering is a bit rusty, this is a forgiving one to practise on.
What to watch out for:
The hold switch seems to be a weak point and prone to failure. It seems to default to ‘locked’ which means without it working the iPod is unusable.
The good news is it’s not a difficult swap — a donor board will sort it out without too much drama if you are good at basic surface mount soldering.
Nano 1 (Black) — What I did and what I spent:
| Part | Cost |
|---|---|
| Nano 1 black – stuck hold switch (part of mixed bundle) | £4.00 |
| Nano 1 black – dead, water damage (donor for hold switch) | £2.90 |
| Total | £6.90 |
Bought two black Nano 1s — one with a stuck hold switch from a mixed bundle, and one completely dead from water damage to use as a donor. The fix was simple: desolder the hold switch from the dead one and resolder it onto the working board. Screen and battery were both fine. A fully working Nano 1 for under £7.
Nano 1 (White) — What I did and what I spent:
| Part | Cost |
|---|---|
| Nano 1 white – needs battery | £4.69 |
| Replacement battery | £11.98 |
| Total | £16.67 |
A straightforward battery swap. Bought a white Nano 1 listed as faulty for under £5, fitted a new battery, and ended up with a fully working iPod for just over £16. The battery I bought was a little expensive compared to others – I think I could have got it cheaper if I’d been patient and got one from Alliexpress.
5. iPod Nano 2nd Generation
Repairability: 7 | Moddability: 1 | Soldering: SMD | Gluing: Yes
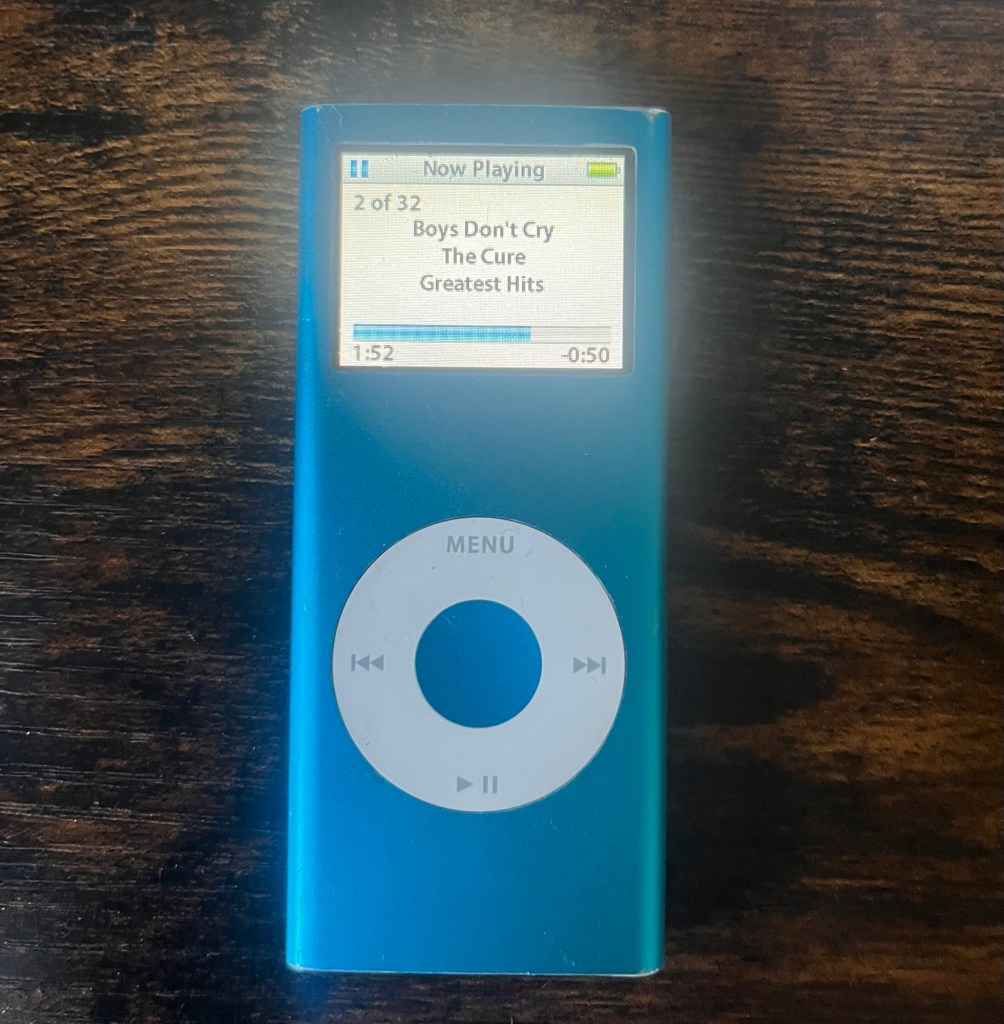
Another one that’s easier to work on than you might expect from something so slim. These open up without too much fuss — the main caveat being that a swollen battery can make things much more difficult, as the expansion puts pressure on the case and makes it harder to separate cleanly. If you’re lucky enough to get one before the battery has gone too far, it’s a pleasant surprise.
I’ve given these a ‘1’ rather than ‘zero’ for moddabilty because you could mess around with the case colours and swap them to match you taste/mood.
What to watch out for:
Check for battery swelling before you start — it’ll tell you how much of a fight the case is going to give you. A badly swollen battery means more prying, more risk, and more chance of damaging something you didn’t intend to. You can see these by black splodges on the screen. Mind just had dead pixels, more likely from being dropped than battery swelling.
What I did and what I spent:
| Part | Cost |
|---|---|
| Nano 2 blue 4GB (faulty) | £4.74 |
| Replacement battery | £8.99 |
| Replacement screen | £6.41 |
| Total | £20.14 |
Picked up a blue Nano 2 for under £5. The screen was technically working but had some dead pixels, so I replaced it along with the battery. The shell is a bit tatty but honestly it gives it a nice lived-in look. These things are twenty years old, a few marks feel appropriate. A fully working iPod for just over £20.
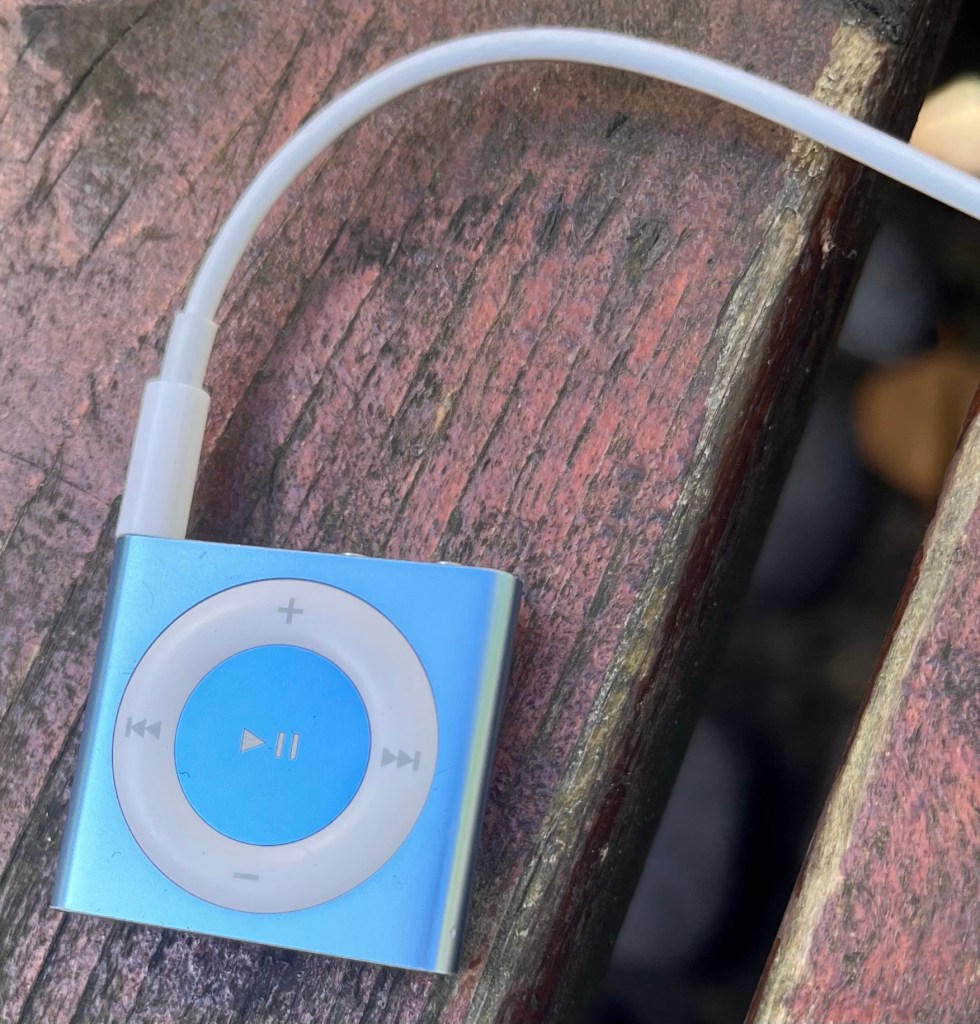
6. iPod Nano 6th Generation
Repairability: 7 | Moddability: 1 | Soldering: SMD | Gluing: Yes

I love these! It turns out once you know what you’re doing one of the easiest to work on. Screens, batteries, and the ribbon cable carrying the buttons and headphone jack are all cheap and readily available. Don’t let the tiny size put you off.
The smallness is the reason I’ve only given them a ‘7’ for repairability but once you get the tiny size it might by an ‘8’. The screen comes away cleanly with just a hairdryer to soften the adhesive — no specialist heat equipment needed. And once you’re in, the battery is wired rather than ribbon, although it is surface mounted.
A lot of these seem to have broken buttons, but the whole assembly with the buttons and headphone jack is only a couple of pounds. It’s a bit fiddly, but no soldering.
What to watch out for:
Battery sizing is the big one here. There are batteries sold as compatible with the Nano 6 that are simply too big to fit — and you won’t know until you’re trying to close it back up.
This is the one that fitted nicely:
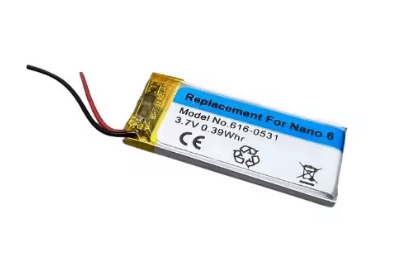
and this was the one that didn’t:

Green Nano 6 — What I did and what I spent:
| Part | Cost |
|---|---|
| Green Nano 6 body | £8.08 |
| New screen/digitiser panel | £12.79 |
| New battery | £7.99 |
| New buttons ribbon (half of twin pack) | £1.23 |
| Total | £30.09 |
Pink Nano 6 (not in the photo) — What I did and what I spent:
| Part | Cost |
|---|---|
| Pink Nano 6 body (cracked screen) | £13.53 |
| Graphite Nano 6 (donor for screen) | £11.60 |
| New buttons ribbon (half of twin pack) | £1.23 |
| Total | £26.36 |
Silver Nano 6 — Work in progress:
| Part | Cost |
|---|---|
| Silver Nano 6 body (cracked screen) | £12.00 |
| Total so far | £12.00 |
Awaiting a replacement screen — when it arrives this should be a straightforward fix.
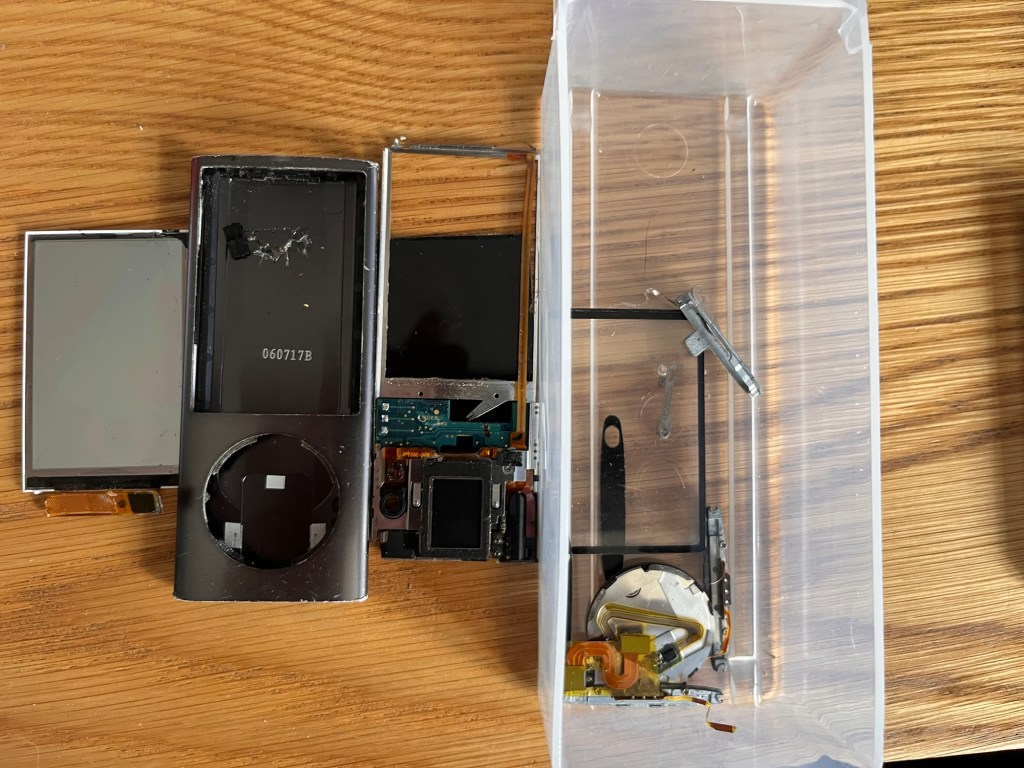
7. iPod nano 4th Gen
Repairability: 6 | Moddability: 0 | Soldering: Yes | Gluing: Yes
Why’s this so far down the list? Because it’s so hard to open! Maybe if I do more I’ll get the hang of it. In the end, it was a mixture of metal spludgers, heat from a hair dryer and pulling hard on the clip. You have to get the back off, rather than sliding out like the 2nd generation.
Once inside its just the standard cable soldered battery, and that’s about all there is to fix.
What to watch out for:
I’m still no 100% happy with how it’s gone back together. I’m guessing I’ve either bent the clips on the back slightly. Either that or the battery is slightly thicker than the original.
What I spent:
| Part | Cost |
|---|---|
| Shuffle (part of mixed bundle) | £4.00 |
| Replacement battery | £7.99 |
| Total | £11.99 |
8. iPod Mini 2nd Generation
Repairability: 6 | Moddability: 8 | Soldering: No | Gluing: Yes
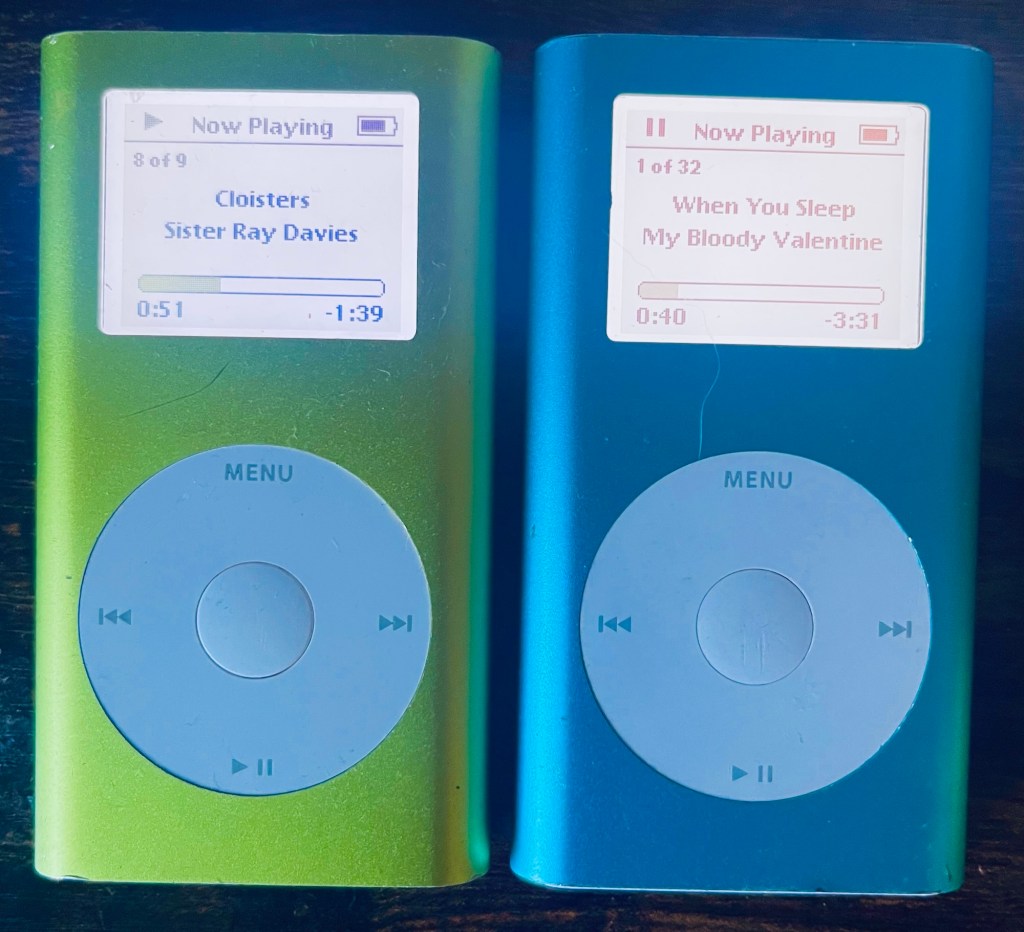
From a modding perspective, these are brilliant. Swap out the original microdrive for a compact flash card and it just works or use an iFlash adaptor for even more options. The result is a faster, more reliable iPod with much better battery life, and it’s all achievable without soldering. A really satisfying project, and the colours are really cool.
One thing to note, as for the iPod Photo above, is that the operating systems really isn’t designed for large libraries, so although I have 128Gb on one of mine, scrolling through the library isn’t easy – it’s one at a time with no ‘fast forward’ through the letters. If you have a big library, really you are better going for the iPod 5 (number 1 in my list).
The battery is pleasingly straightforward — it’s a plug-in connector, and even if you manage to snap it off (as I did!), it’s an easy enough solder job to reattach.
The gluing is straightforward – it’s just the covers at the top or bottom.
The repairability score is held back by one significant problem though — the click wheel ribbon is incredibly fragile, and crucially, there are no replacement click wheels available. If you damage that connector, your only option is to try and get one from a doner board – not cheap.
What to watch out for:
As mentioned – that click wheel connector. Treat it as the most precious thing in the device, because effectively it is. Be slow, be gentle, and if you’re in any doubt about what you’re doing near it — stop and think before you proceed. It’s the one point of no return on an otherwise very moddable and repairable little machine. It’s really easy to break when you open or close the case.
Blue Mini (128GB) — What I did and what I spent:
| Part | Cost |
|---|---|
| Silver Mini body (sad icon) | £20.60 |
| Blue housing | £4.96 |
| iFlash SD-CF adapter | £19.99 |
| 128GB SD card | £20.00 |
| Battery | £13.50 |
| HD ribbon cable | £6.87 |
| Total | £85.92 |
If I was doing this again I’d just put a cheap second hand compact flash in.
Green Mini (64GB) — What I did and what I spent:
| Part | Cost |
|---|---|
| Green Mini body (faulty) | £14.99 |
| iFlash SD-CF adapter | £19.99 |
| 64GB SD card | £13.00 |
| Battery | £13.50 |
| Total | £61.48 |
Silver Mini — Work in progress:
| Part | Cost |
|---|---|
| Silver Mini body | £24.55 |
| Total so far | £24.55 |
Needs a click wheel which, as noted in the repairability section, are seemingly impossible to find. Another iPod held hostage by unavailable spares.
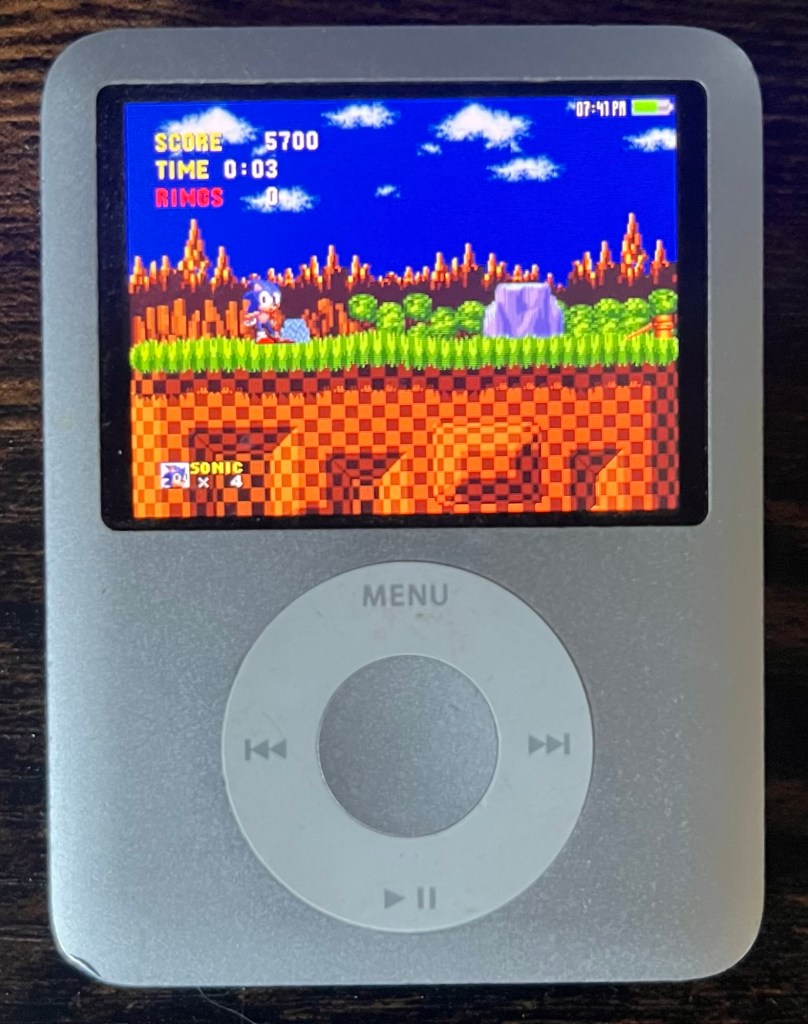
9. iPod Nano 3rd Generation
Repairability: 5 | Moddability: 1 | Soldering: SMD | Gluing: Yes
The chubby one, and despite the extra bulk, not one of the easier repairs. Most guides will tell you upfront to budget for a replacement back case, because opening it without bending the original is pretty much impossible. Mine bent too, so don’t feel bad when it happens to yours.
Once inside, the real challenge is the click wheel. Unlike other iPods where the wheel is a relatively clean swap, on the Nano 3 the whole assembly is glued together. Replacement ribbons are cheap enough, but dismantling and reassembling the click wheel — getting everything glued back in the right place — is genuinely fiddly. Doable, but it’ll test your patience.
You’ll notice my screen shot has Sonic the Hedgehog. Yes you can play games on some iPods! If you want to know more, read about this awesome preservation project.
What to watch out for:
Just accept the back case is a consumable and factor a replacement into your parts order before you start. And set aside plenty of time for the click wheel — this isn’t one to rush.
What I did and what I spent:
| Part | Cost |
|---|---|
| Nano 3 (part of job lot of 4) | £4.25 |
| Replacement click wheel | £3.31 |
| Total | £7.56 |
Came as part of a job lot and only needed a new click wheel. Cheap enough. However the case is slightly bent, and despite the new click wheel it’s not quite right — it works but isn’t perfect, probably because I didn’t wait long enough for the glue to dry, or didn’t line thinks up 100% perfectly. Given the fiddly nature of the glued click wheel assembly on these, that’s perhaps not surprising. At under £8 all in I can’t complain too much, but it’s not one I love.
10. iPod Nano 4th Generation
Repairability: 5 | Moddability: 1 | Soldering: Yes | Gluing: Yes
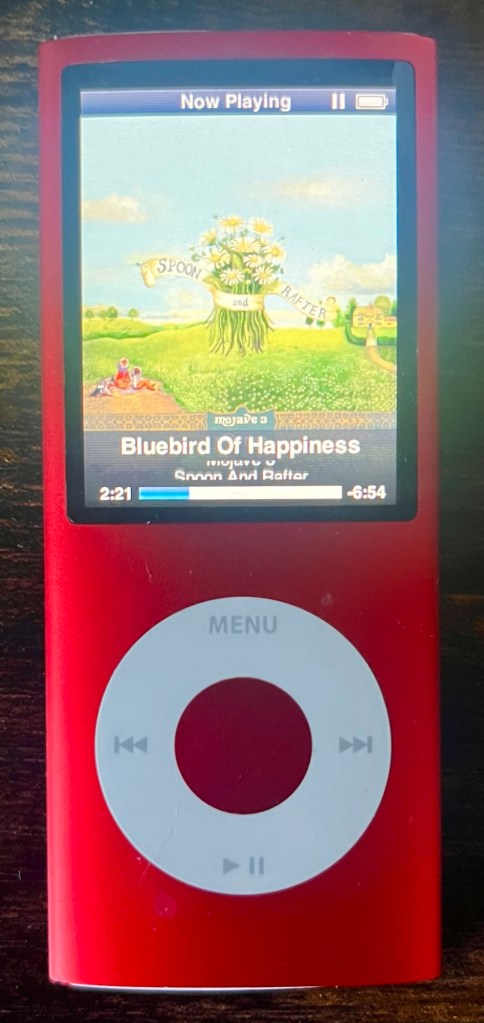
Visually very similar to the Nano 5, and it shares some of the same challenges — but crucially, it’s a more satisfying repair experience because the problems that exist actually have solutions. The hold switch can be repaired and the screens are available.
I actually really like this model – the screen size is nice, the colours are cool. So although fiddly, I think it’s worth it compared to the Nano 2.
The hold switch ribbon cable is very fragile (same as on the Nano 5) , and runs the same length of the device, so you should expect to break it. The difference here is that the solder points for running replacement wires are easy to get to — so when it breaks, and it probably will, you can actually fix it. This Reddit post explains where to solder.
Screens appear to be available at sensible prices, which alone puts it in a different category to the Nano 5. The battery uses a ribbon connector surface mount type, so you’ll need to be comfortable with that style of soldering — it’s not the friendliest, but it’s perfectly doable if you’ve done surface mount work before.
What to watch out for:
Go in expecting to break the hold switch ribbon and have your soldering iron ready. It’s an annoying extra step but at least it’s a recoverable one — unlike its near-identical sibling below.
What I did and what I spent:
| Part | Cost |
|---|---|
| Nano 4 body (listed as iPod 2nd gen!) | £9.46 |
| Replacement battery | £7.97 |
| Total | £17.43 |
A bit of a lucky find — listed as a 2nd gen iPod but turned out to be a Nano 4 in lovely condition. Just needed a battery swap and it was good to go. One of the more straightforward repairs on this list, and at under £18 all in, one of the better bargains too.
11. iPod Nano 7th Generation
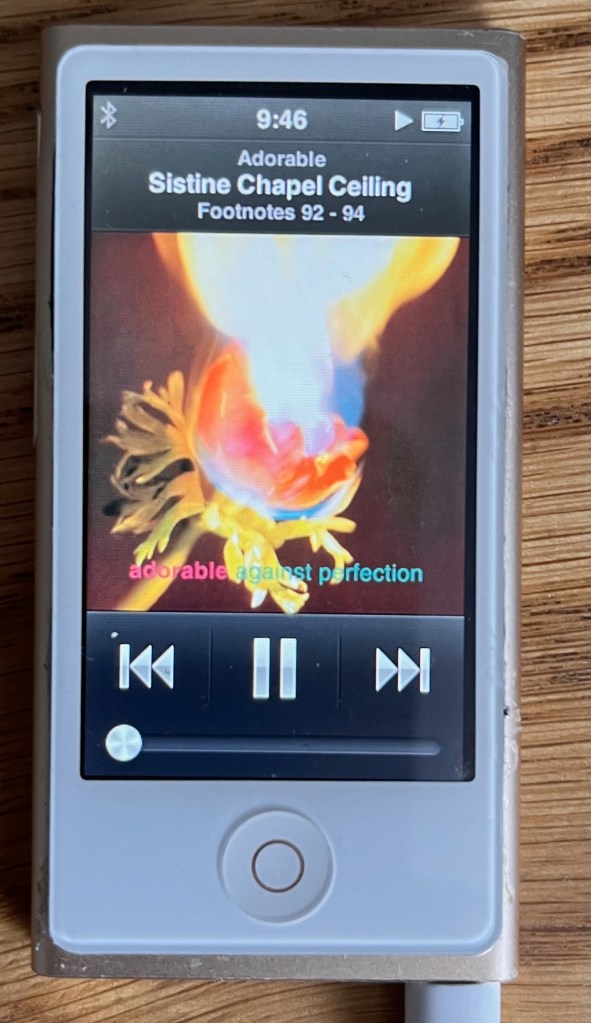
Repairability: 4 | Moddability: 2 | Soldering: Yes | Gluing: Yes
A mixed bag, this one. On the plus side, screens and digitisers are cheap and readily available, and replacement is straightforward enough. But pretty much everything else about this repair is awkward.
Opening the case without bending it is difficult — most guides don’t really warn you adequately about this, and it’s hard to avoid some distortion.
The battery uses a ribbon connector, and the pads on the board are worryingly fragile. A quick look at auction sites will show you just how many boards are listed with missing pads — it’s clearly a very common casualty. I ripped one off myself. I got lucky in that it was the ground pad, which was straightforward to bridge with a wire to a nearby screw point. The other pads don’t look anywhere near as forgiving.
The controls and headphone jack are soldered to the board via a ribbon cable that is both fragile and quite hard to replace. It probably took me about an hour to do.
Fitting everything back together after a battery swap is also harder than it should be — I wonder if some replacement batteries are slightly oversized, as I found with the Nano 6.
What to watch out for:
Those battery pads. Work slowly, and if you’re even slightly unsure, stop. And avoid ones where there is a problem with any of the buttons or headphone jack unless you fancy some really tricky soldering.
Nano 7 (Silver) — What I did and what I spent:
| Part | Cost |
|---|---|
| Gold Nano 7 body | £18.85 |
| Silver Nano 7 (spares) | £4.96 |
| Nano 7 motherboard (spares) | £8.63 |
| Replacement battery | £7.98 |
| Replacement screen/digitiser | £4.93 |
| Replacement headphone/switch | £3.25 |
| Total | £48.60 |
Ended up with the putting everyone into the silver one’s case one as my keeper, fitted with a new battery, screen and digitiser. The gold body and spare motherboard didn’t make it into a working iPod but have gone into the spares pot — useful given how fragile some of the components on these are. The most expensive Nano project by some margin, and the most frustrating to work on other than the 5…
12. iPod Nano 5th Generation
Repairability: 2 | Moddability: 1 | Soldering: Yes | Gluing: Yes
Last on the list, and the one most likely to defeat you — and I say that as someone who has been defeated by it, repeatedly.
The problems stack up badly here. Replacement screens are almost impossible to source at a sensible price, and battery swelling pushes directly against the screen, cracking it. So you’re often faced with a device that needs a screen you can’t get, because the battery destroyed it, which was the thing you were trying to fix. A grim cycle.
Disassembly is just horrible from start to finish. Removing the camera cover without scratching the case seems to be basically impossible — I’ve yet to manage it. Then there’s the hold switch ribbon cable, which runs the entire length of the iPod and is incredibly fragile. I have not managed to open a single Nano 5 without breaking it. Unlike the Nano 4, there are no accessible solder points to run replacement wires as a workaround. The only guide I found that addressed it had you cutting into the frame itself. I tried it. It was a mess.
Finally, the screen ribbon cable is really easy to break when reassembling. I actually had this working at one point, but snagged the screen ribbon when going back to have another go at fixing the holder switch.
What to watch out for:
Honestly? Buying one in the first place. The video camera adds little – I’d goes far as to say it’s pretty useless these days. Unless you have a specific reason to pursue a Nano 5, your time and money are better spent elsewhere on this list. It’s a beautiful little device that Apple seems to have designed specifically to resist being kept alive.
What I did and what I spent:
| Part | Cost |
|---|---|
| Nano 5 body (from job lot of 4) | £4.25 |
| Nano 5 body (from mixed bundle, backlight fault) | £4.00 |
| Replacement battery | £7.99 |
| Click wheel ribbon x1 | £3.14 |
| Total | £19.38 |
And after all that — it still doesn’t work. It now needs a new screen, which as I mentioned earlier in this post, are virtually impossible to source at a sensible price.

Leave a comment